
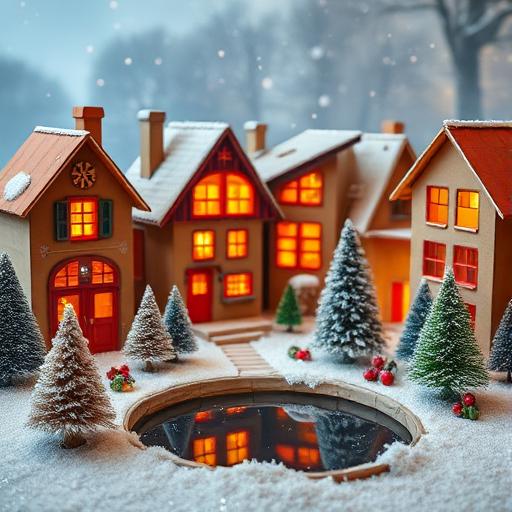
How to Transform Cardboard into Festive Holiday Village Decor
Oh, the joy of the holidays! Twinkling lights, the smell of cinnamon and pine, and… a pile of leftover cardboard boxes? Yep, you heard right. This year, let’s get crafty with some DIY cardboard holiday decor. Use those humble boxes to build a charming miniature village. Everyone will be checking your roof for reindeer! This eco-friendly decor idea not only spruces up your home but also helps the planet and your wallet. Let’s dive in and see what magic we can make!
Table of Contents
- Gather Your Materials
- Blueprint Your Village
- Crafting the Basic Shapes
- Adding Architectural Details
- Painting with Festive Cheer
- Crafting Scenery and Accessories
- Assembling Your Holiday Display
- Lighting Up Your Village
- Maintaining Your Cardboard Creation
- Conclusion: Create and Celebrate
1. Gather Your Materials
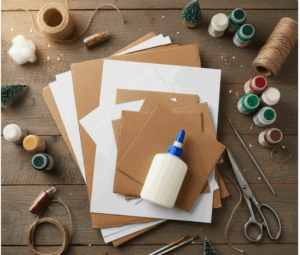

First, collect your crafting goodies. You’ll need basics like:
- Cardboard (of course)
- Glue
- Scissors
- Paint
Here’s a little secret. Look around and you’ll spot all kinds of recycled holiday crafts just waiting to happen. Egg cartons, paper towel tubes, even cereal boxes can transform into something amazing. And you know the sound of scissors snipping through cardboard? It’s just so satisfying. Almost like biting into a crunchy apple!
2. Blueprint Your Village
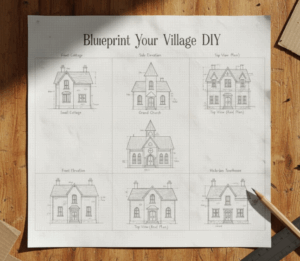

Before we go cutting and pasting like we’re in crafting overdrive, let’s get drawing. Sketch out your festive DIY village. It’ll help avoid blunders and give your project pizzazz. Think cozy cottages here, a grand town hall there. Maybe toss in some shops and a cafe for those cardboard villagers to grab a latte. This village is your creation, so imagine big and wild!
3. Crafting the Basic Shapes
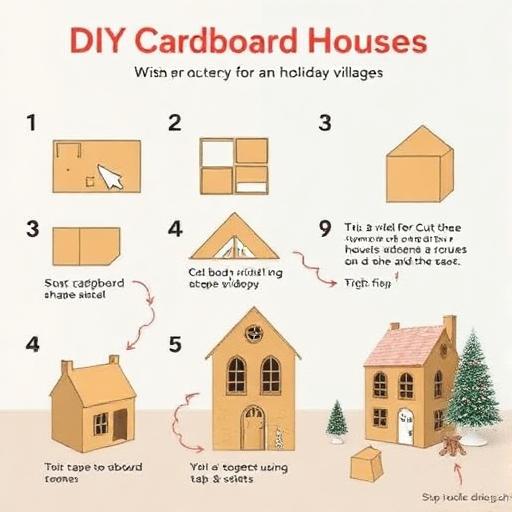
Now for the fun stuff: building! Cut out shapes for each building. Try to keep them straight, but if they’re wiggly—no worries! It just adds charm. Use tabs and slots to fit them together. It’s a bit tricky at first, but so worth it. Close your eyes and listen to the cutting symphony around you. Sound familiar? Who knew cardboard could rock the holiday spirit?
4. Adding Architectural Details
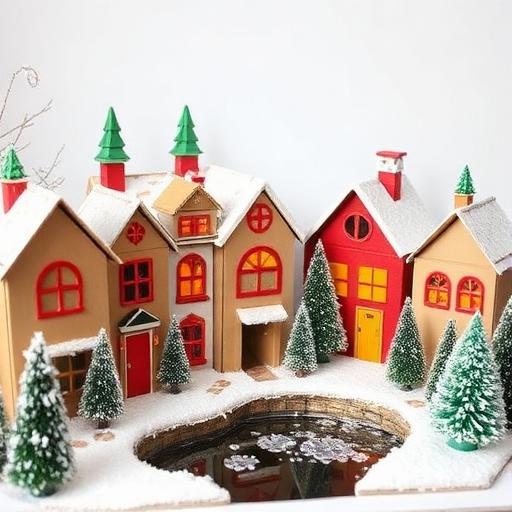
Time to jazz up our buildings with details. Think brick textures, wood panels, fancy arches—all made from cardboard! Cut out windows and doors. The more unique, the better! Want a round hobbit door on your cottage? Go for it. Use popsicle sticks for beams or just draw some shingles. This is where your village gets its groove and character.
5. Painting with Festive Cheer
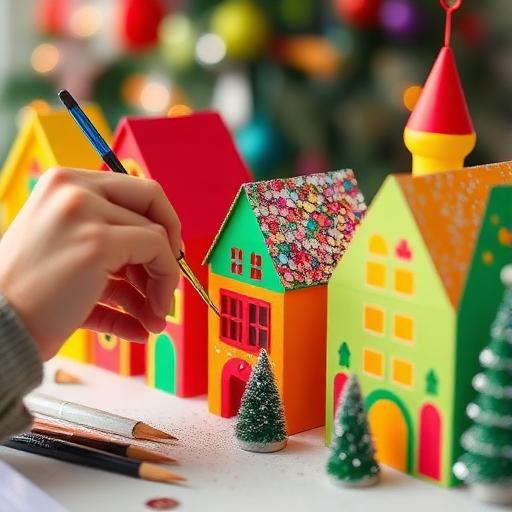
Let’s get arty and bring color to our cardboard creations. Pick cozy, festive colors—red for the town hall, soft browns for cottages, maybe a wild green for that funky shop. How about adding snow by dabbing on white around rooflines? Sprinkle glitter or stick on sequins to capture the light. Painting and watching those colors bloom, it feels like holiday magic, doesn’t it?
6. Crafting Scenery and Accessories
Buildings need company, right? Let’s add greenery and more. Make mini trees with recycled holiday crafts, like twisted green paper or fabric scraps. Use sticks for trunks. Got an old scarf you’re ready to toss? Perfect for fences or park benches. And don’t forget a pond made from aluminum foil—it’ll reflect the twinkling lights, giving extra dazzle. Layer the landscape for depth. Feel that fuzzy warmth?
7. Assembling Your Holiday Display
Now, let’s pull it all together. Arrange your village with balance—it’s like playing elf-sized real estate. Add a hill for height in the back or pop in a tree for color. And find the perfect spot to display it in your home. Whether on a mantelpiece or as a table centerpiece, pick a location where it’ll captivate holiday visitors.
8. Lighting Up Your Village
A village isn’t complete without that magical glow. LED tea lights are a great choice—they’re safe, stay cool, and give off a warm light that feels like a cozy winter night. Place them inside houses for a charming look, or scatter a few around the village for extra sparkle. Warning: the sight might transport you straight into a snow globe world!
9. Maintaining Your Cardboard Creation
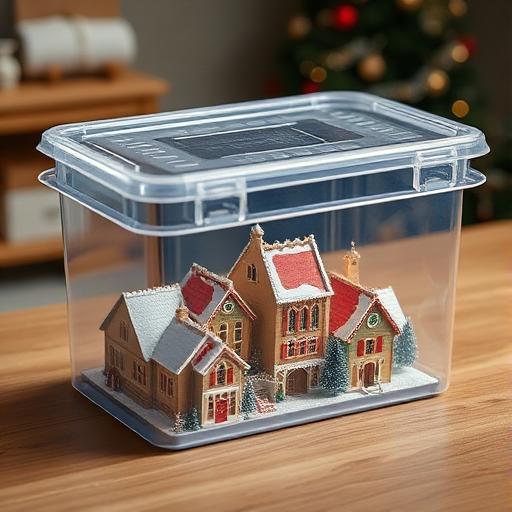
Your masterpiece is ready! But how to keep it gleaming each year? Protect it from humidity. Maybe use a plastic storage box when not in use, and avoid storing it near that mysterious fruitcake Aunt Edna sends every year. Unlike that fruitcake, your little village gets better with age, as long as you take care of it!
Conclusion: Create and Celebrate
There’s your DIY cardboard holiday decor. It was crafted with love and enchantment. This is more than simple decor. It’s a true nod to creativity and sustainability. Every holiday is a chance to refresh your village. Consider adding a new house or a snowy tree. Friends and family will adore these charming projects. They prove simple materials create heartwarming creations. Happy crafting! Here’s to a joyful and wonderful holiday season.
Explore our eco-friendly summer crafts for more creative ideas, or learn how to make delightful DIY tabletop fire bowls that can warm up any season’s night. Happy crafting!

