
DIY Snow Melt Tray for Boots Using Scrap Wood & Drip Paint
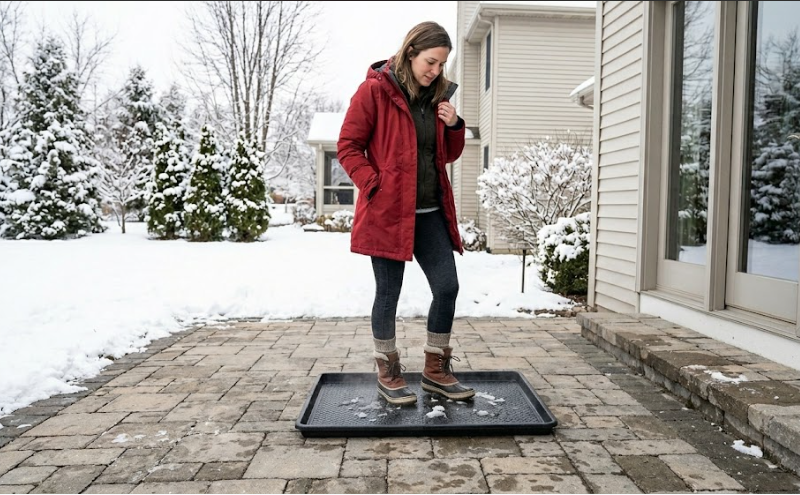
Imagine: The snow is falling gently outside, painting everything white, and you come home with rosy cheeks and a chill only hot cocoa can fix. As you step inside, you’re greeted by…a clean, neat entryway. No puddles, no muddy boot marks, nothing showing the arctic out there. Dreamy, right? You might think this scene is reserved for neat freaks. But, what if it could be your reality? Meet the DIY snow melt tray, a simple, genius solution to the age-old problem of wet, muddy boot marks ruining your cozy, carefully-kept home.
What’s the secret, you ask? This homemade marvel tackles the seasonal slush with the rustic charm of scrap wood and the artsy elegance of drip paint. It’s both eco-friendly and chic, transforming your entryway into a stylish defense against winter grime. Stick around, let’s take a fun dive into this awesome DIY home project!


Table of Contents
- Why DIY a Snow-Melt Tray for Boots?
- Gathering Your Materials
- Preparing Your Workspace
- Cutting and Assembling the Tray
- Adding Creative Flair with Drip Paint
- Installing Melting Features
- Finishing Touches and Testing
- Maintaining Your Snow-Melt Tray
- Alternative Use Cases: More than Just Boots
- Conclusion: Step into a Dry and Neat Home!
Why DIY a Snow-Melt Tray for Boots?
So, why bother making a DIY snow melt tray? To be honest, who doesn’t love multi-tasking projects that save cash and look amazing while doing it? It’s one of those home organization hacks that brings you practicality with a side of personality. Plus, a custom fit means it matches your space and style perfectly. Say goodbye to the ‘lake-effect mud’ your boots drag in! You’ll wonder how you ever survived without this crafty addition to your winter woes.
Gathering Your Materials
Alright, here’s where we talk shop. Here’s what you’ll need to kick off this winter boot tray DIY:
- Scrap wood (bonus for upcycled stuff)
- A saw (cue dramatic music)
- Wood glue or screws
- Non-toxic drip paint
- Brushes and tarp (because, like, paint and cleanliness don’t mix)
- Heating elements (we’ll cover those later)
Keeping the budget low? Check out yard sales, thrift stores, or even your garage! Feel the wood’s rough texture, imagine the whirs and hums as you cut and paint. Feels like we’re on to something, right?
Preparing Your Workspace

Newsflash: This craft nook isn’t just your dining table camouflaged under a tarp. A safe, efficient workspace is the start of all great DIY home projects. Here’s some advice:
- Clear away small items that might get mangled or painted.
- Set up a drop cloth or an old sheet to catch any wild paint splatters.
- Keep tools and materials close to avoid the dreaded painty-finger shuffle.
The goal? A space where you’re not dodging dinner plates and that feels just right for a snow-melt craft session.
Cutting and Assembling the Tray
With your workspace prepped, it’s time for cutting and assembling. Channel your inner carpenter, let’s get tactile with some woodworking. Here’s a quick rundown:
- Measure your entryway and cut the scrap wood to fit.
- Use glue or screws to assemble a nifty little tray.
- Remember: Measure twice, cut once. It’s not just advice; it’s practically a mantra.
Feel the satisfaction as rough wood turns into your snowy season savior. Your choice of joinery will ensure it withstands the winter boot parade.
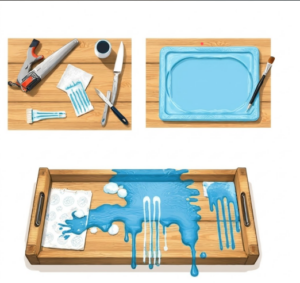
Adding Creative Flair with Drip Paint
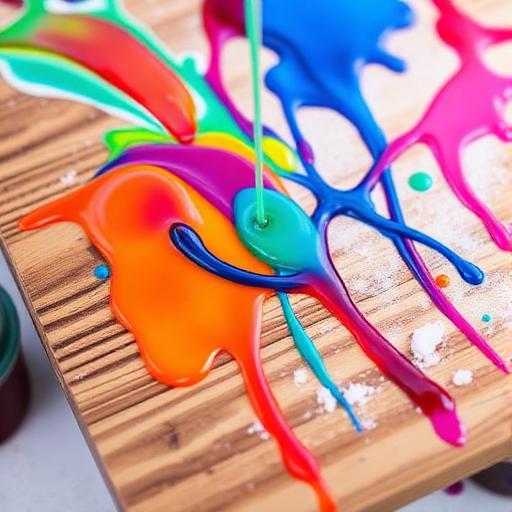
While form is important, so is a splash of art! Drip painting can transform your practical creation into a masterpiece. Here’s how to add some color to entryway storage ideas:
- Pick colors that match or complement your home decor.
- Experiment with technique: splash, splatter, drizzle.
- Don’t worry about perfection, sometimes the best art is lived-in.
And let’s be honest, your tray shouldn’t just melt snow, it should melt hearts too!
Installing Melting Features
Time for the pièce de résistance: melting features.
- Choose an eco-friendly heating pad or coils.
- Install beneath the wood but above the catch layer.
- Place carefully to avoid any sizzling surprises.
Now, your tray enters superhero territory, battling icy puddles with a low-energy footprint.
Finishing Touches and Testing
The devil is in the details, they say. Ensuring your snow-melt tray’s longevity involves some finishing touches:
- Seal your wood with a non-toxic, waterproof finish.
- Stress test by walking your messiest boots across it.
- As you test, think of it as a boot spa—minus the cucumber slices!
These steps ensure your DIY project is functional and fabulous.
Maintaining Your Snow-Melt Tray


Keep your creation tiptop with regular maintenance. Here’s how:
- Wipe the tray regularly to remove dirt and grime.
- Test the heating element occasionally.
- Reapply the sealant as needed.
Routine upkeep keeps everything neat and working.
Alternative Use Cases: More than Just Boots
Surprise! This creation isn’t just for boots. Consider these creative uses:
- Perfect for pet feeding (goodbye to food explosions)
- Ideal under plants to catch excess water
- Even a drop zone for snowy toys or tools
Is it a bird? Is it a plane? No, it’s your all-purpose tray calming the chaos!
Conclusion: Step into a Dry and Neat Home!
In the end, turning scrap into a lively DIY snow melt tray offers function and a sprinkle of art to entryway storage ideas. It’s not just about clean floors; it’s about inviting a bit of beauty into everyday trudges. So, as you step into those dry, neat, clutter-free spaces, enjoy creating something unique and useful. Remember, when life gives snow, make it melt!
Looking for more DIY inspiration? Check out our guide on how to make a DIY tabletop fire bowl. If you still crave more, dive into our basic DIY skills everyone should learn to further hone your crafting abilities.

